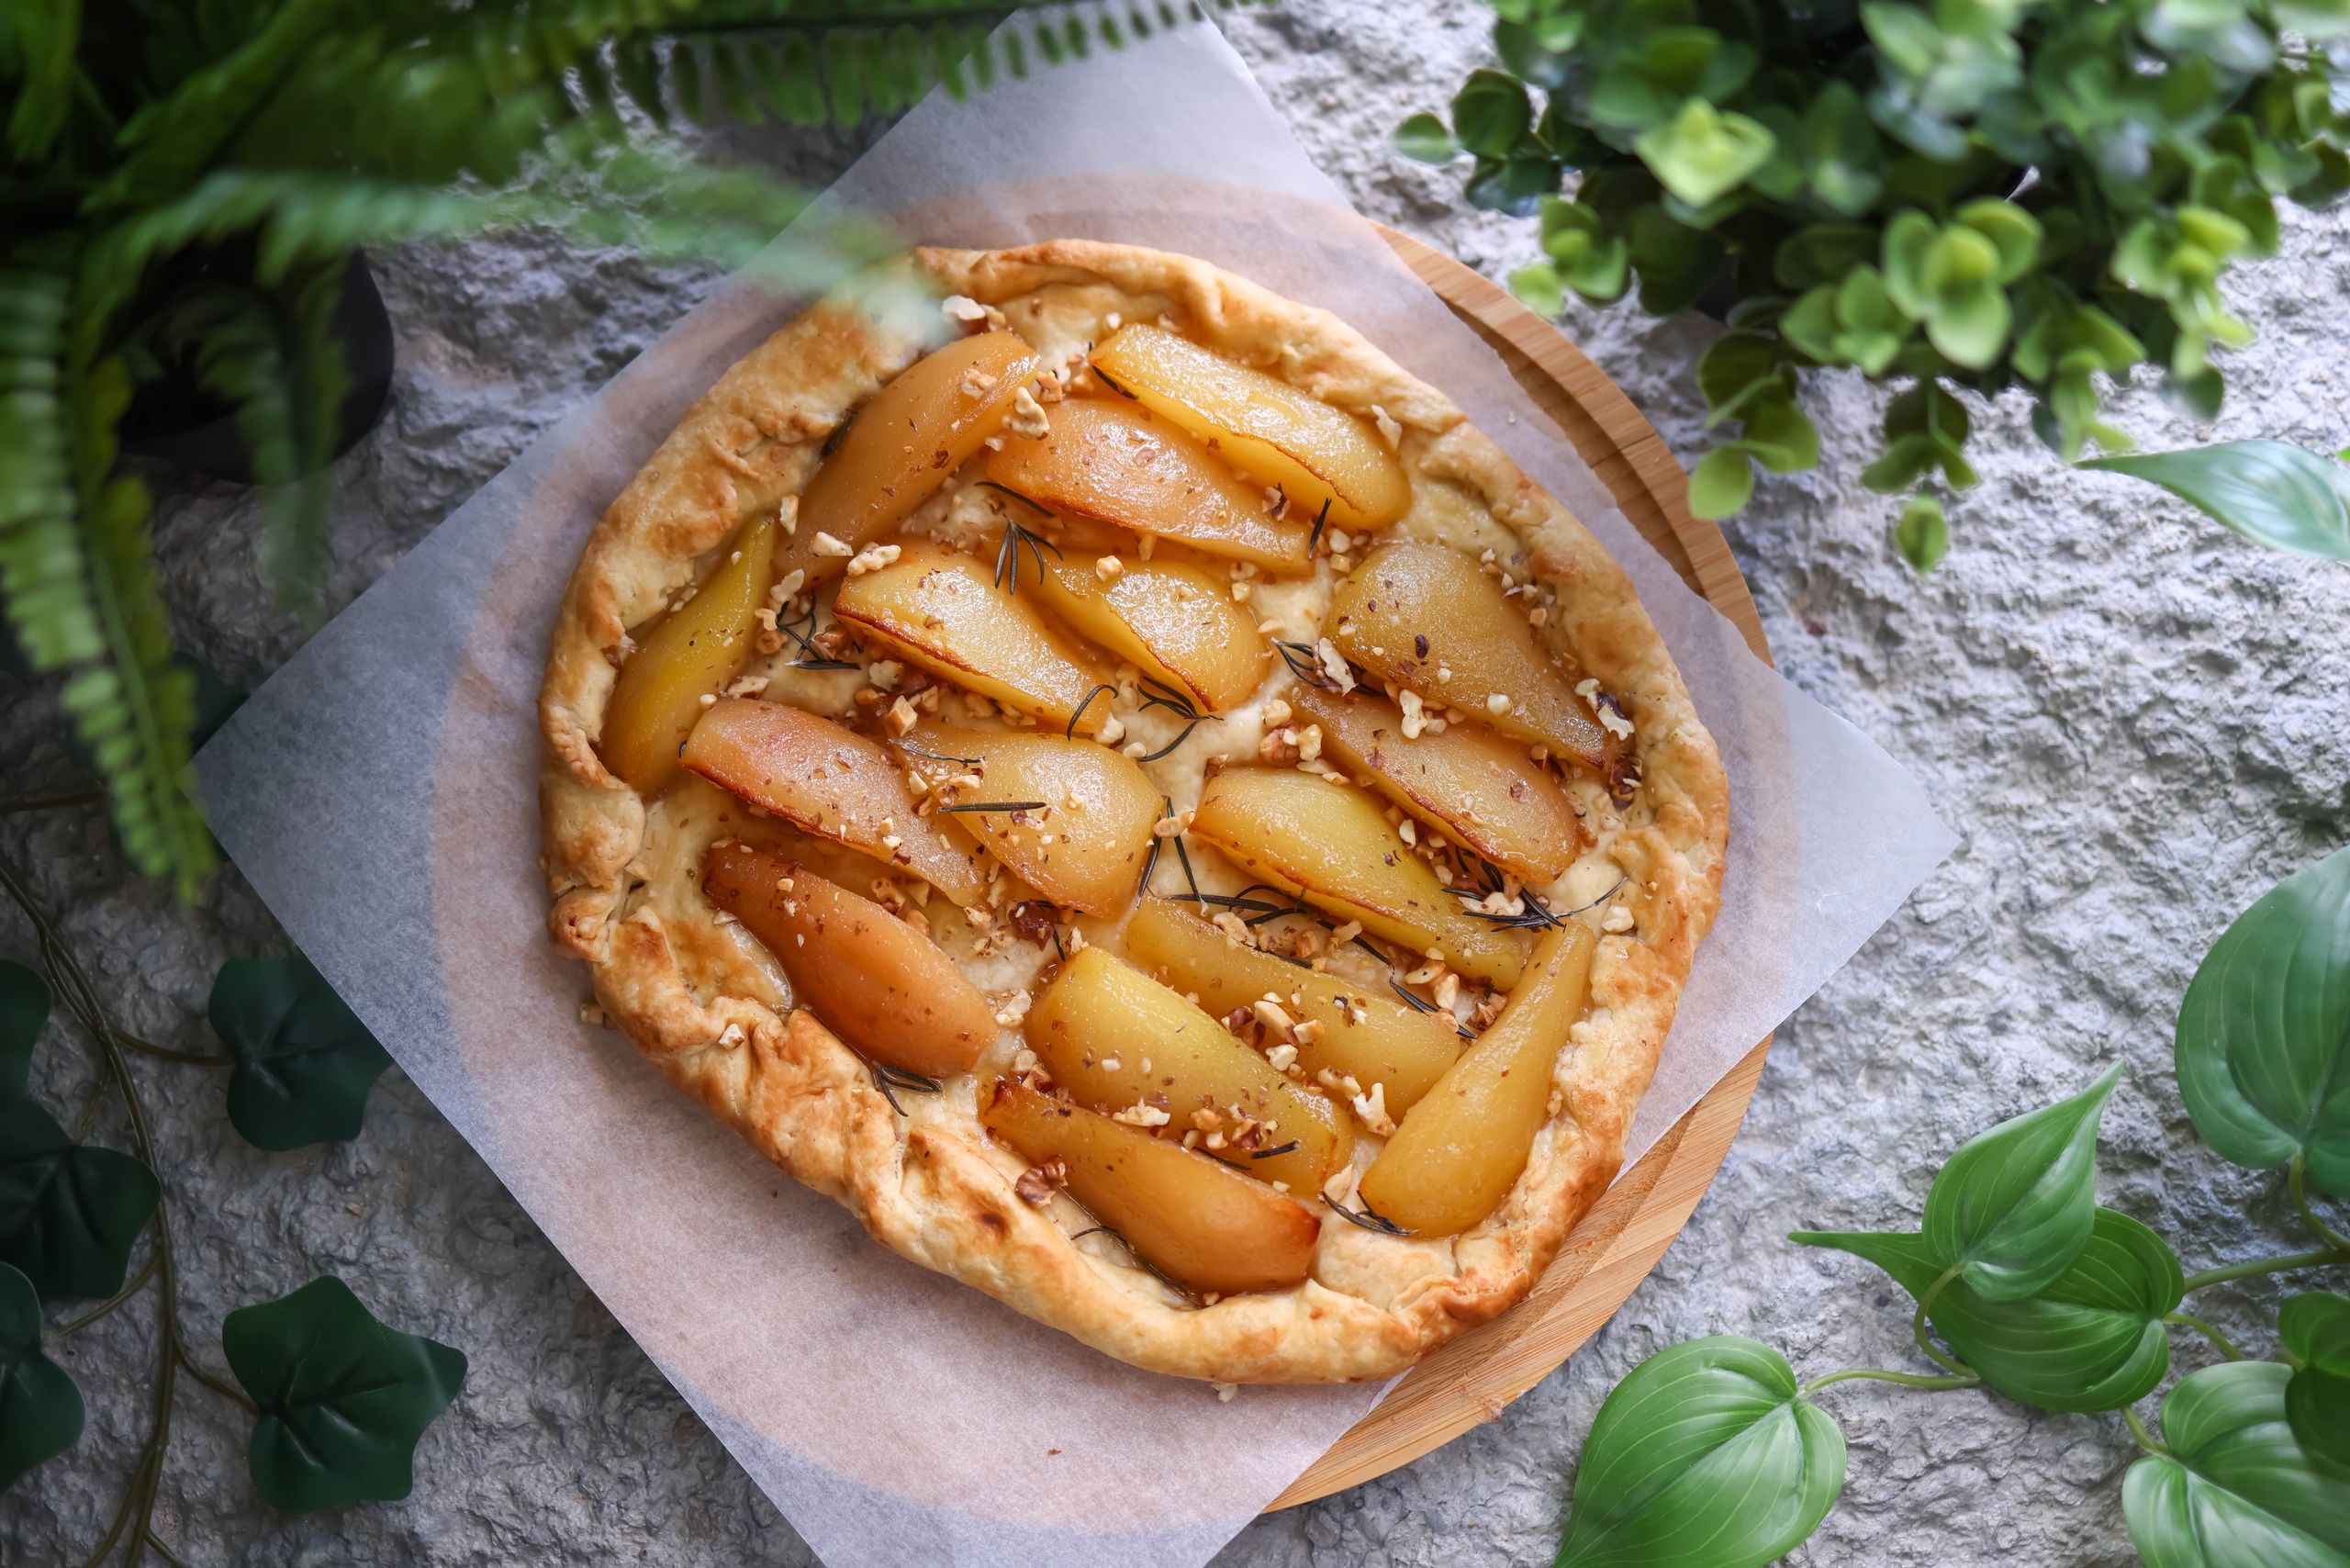
Rustic pear galette: the most forgiving pastry you’ll ever make
A galette is what happens when you want pie but can’t be bothered with pie.
No dish to fit the dough into. No lid to cut, no lattice to weave, no worrying about whether the edges are crimped correctly. You roll the dough into a rough circle, pile fruit in the middle, fold the edges over however they want to go, and bake it. Looking rustic is not a flaw. It’s the whole idea.
I’ve been making this pear galette recipe every winter for a few years now. It’s what I reach for when I want something that looks like I tried, but I didn’t really try that hard.
Why pears work better here than apples
Apples are the reliable choice for winter baking and I love them. But in a galette specifically, pears do something apples can’t quite manage.
A baked apple stays firm, holds its shape, has some chew to it. A ripe baked pear softens almost completely. It becomes tender and sweet and slightly jammy at the edges where it touches the pastry. In a galette, where the filling is exposed to direct heat rather than steaming under a lid, that quality is exactly what you want.
Pears also have less water than a lot of fruit, which means less risk of a soggy bottom. Berries and stone fruit can be trickier that way.
Picking the right pears
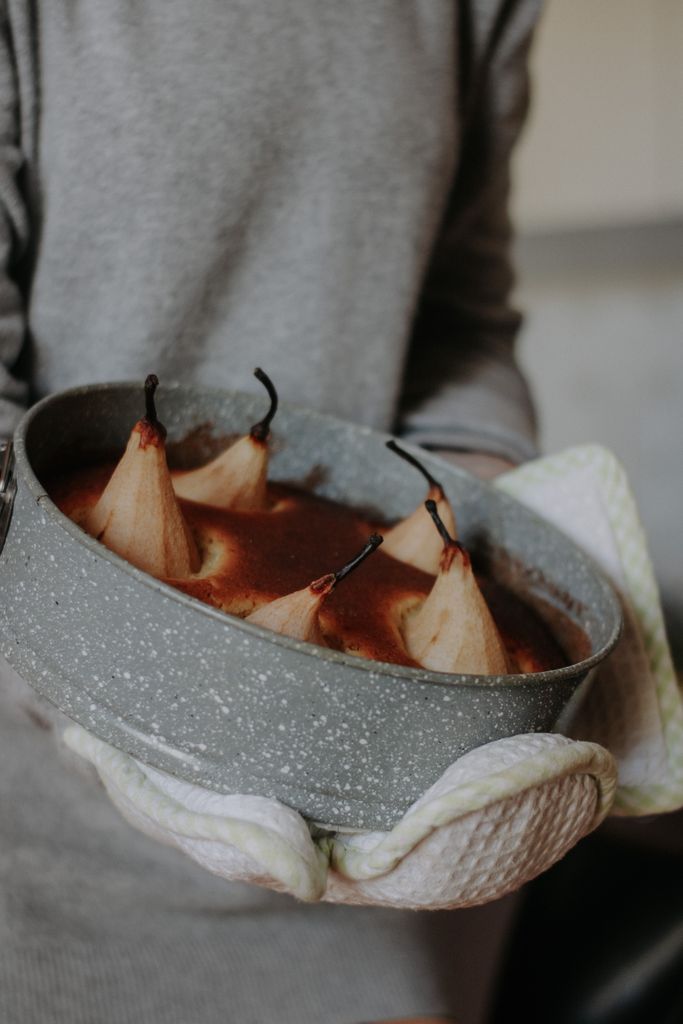
For a pear galette recipe to work properly, the pears need to be ripe but still slightly firm. Too hard and they won’t soften in the oven. Too soft and they’ll turn to mush.
The test: press the neck of the pear gently with your thumb. It should give just slightly, like the edge of a ripe avocado.
Bosc is the best variety for baking. Firmer than most, holds its shape slightly, and the flavor deepens with heat. Their tapered shape slices into even pieces easily.
Anjou works well too. A little sweeter and rounder, and easier to find in most shops.
Bartlett can work but moves quickly from underripe to overripe. If you’re using Bartlett, err on the side of firmer rather than softer.
A special note on the dough for pear galette recipe
Galette dough is basic pie dough — flour, cold butter, salt, a little sugar, ice water. The same rules apply as with any pastry: cold butter, quick hands, minimal handling.
If you have a food processor, use it. Pulse the butter in in seconds without warming it with your hands. If not, grate frozen butter directly into the flour on a box grater, toss to coat, then add water. Either way, you want coarse crumbs with some visible butter pieces before the water goes in.
The dough rests 30 minutes in the fridge, rolls out easily, and does not need to be a perfect circle. Rough edges are fine. They’re actually the point.
Store-bought pie dough works too if you want to skip this step entirely. The result is still really good.
Ingredients you need to prepare
Serves 6–8
For the dough:
- 190g (1½ cups) all-purpose flour
- 1 tsp granulated sugar
- ½ tsp fine salt
- 115g (½ cup) unsalted butter, very cold
- 3–5 tbsp ice water
For the filling:
- 4 medium ripe-but-firm pears (about 700g) — Bosc or Anjou
- 60g (⅓ cup) granulated sugar
- 1 tbsp fresh lemon juice
- ½ tsp cinnamon
- ¼ tsp nutmeg, optional
- 1 tbsp unsalted butter, cut into small pieces
To finish:
- 1 egg beaten with 1 tsp water
- 1 tbsp granulated sugar for sprinkling
- Powdered sugar for dusting, optional
How to make it, very simple!
Make the dough:
- Combine flour, sugar, and salt in a large bowl. Cut the cold butter into small cubes and work it into the flour using a pastry cutter or your fingertips until the mixture looks like coarse crumbs with some pea-sized pieces. (Or grate frozen butter straight in and toss to coat.)
- Add ice water a tablespoon at a time, mixing with a fork after each, until the dough just comes together when you press a pinch between your fingers. It should not be wet or sticky.
- Shape into a flat disc, wrap, and refrigerate for at least 30 minutes.
Prepare the filling:
- Peel, core, and slice the pears about 5mm thick. Toss in a bowl with sugar, lemon juice, cinnamon, and nutmeg if using.
Assemble and bake:
- Preheat oven to 200°C (400°F). Line a baking sheet with parchment.
- Roll the dough out on a lightly floured surface into a rough circle about 30–32cm across. Don’t worry about the edges. Transfer to the baking sheet.
- Arrange pear slices in the center, leaving about 5cm of dough border around the edge. Slightly overlapping is fine and looks nice. Dot the pears with the small pieces of butter.
- Fold the border up and over the edge of the fruit, pleating loosely every few centimetres as you go. Press gently to hold.
- Brush the folded dough with egg wash. Sprinkle with sugar.
- Bake 30–35 minutes until the crust is deep golden and the pear juices are bubbling.
- Cool on the pan for at least 15 minutes before moving — the juices need time to settle. Dust with powdered sugar if you like.
How to serve it
Best eaten slightly warm, within a few hours of baking. I usually serve it with a spoonful of crème fraîche on the side. The tang against the sweet pears works really well. Vanilla ice cream or barely sweetened whipped cream are both good too.
Leftovers: Cover loosely and keep at room temperature up to 2 days. A few minutes in a low oven and the pastry crisps back up.
A few variations worth trying
Pear and ginger: Add 1 teaspoon of freshly grated ginger to the filling. Ginger and pear is a combination that doesn’t get enough attention.
Mix of pear and apple: Use 2 of each. The apple adds a little structure, the pear adds softness. They balance each other out nicely.
Puff pastry instead of homemade dough: The edges puff up dramatically and the whole thing looks very fancy for very little work. Good option when you’re short on time.
This is the pear recipe mentioned in Seasonal baking: winter fruits in desserts. If you want something citrusy to bake alongside it, the cranberry orange scones use the same cold-butter technique and come together in about the same time.